The Repair It Denture Kit offers a convenient, multi-functional solution for emergency dental repairs. Designed for cracked or broken dentures, it provides a quick, easy fix at home.
Overview of the Kit and Its Components
The Repair It Denture Kit is a comprehensive solution for emergency denture repairs. It includes repair resin, applicators, sandpaper, and detailed instructions. Designed for cracked or broken dentures, the kit allows users to quickly restore functionality. The multi-purpose repair resin is self-curing and suitable for various repairs. The kit also includes materials for temporary fixes, such as replacing missing teeth or stabilizing loose dentures. All components are non-toxic and safe for short-term use. This kit is ideal for emergency situations, providing a quick fix until professional dental care can be sought. It includes everything needed for minor repairs, ensuring convenience and ease of use.
Importance of Proper Denture Repair
Proper denture repair is crucial for maintaining oral health and comfort. Improperly repaired dentures can lead to discomfort, difficulty eating, and potential damage to surrounding tissues. A well-performed repair ensures a secure fit, preventing further breakage and extending the lifespan of the denture. Neglecting repairs can result in more severe issues, requiring costly professional interventions. Using a reliable kit like Repair It ensures a strong, durable fix, restoring functionality and confidence. Proper repair also helps prevent oral health complications, making it essential for both convenience and long-term dental well-being. Regular maintenance and timely repairs are vital for optimal denture performance.
Preparation for Denture Repair
Preparing for denture repair involves gathering materials, cleaning the denture, and aligning broken pieces. Ensure the area is dry and free from debris for a secure fix.
Gathering Materials and Tools
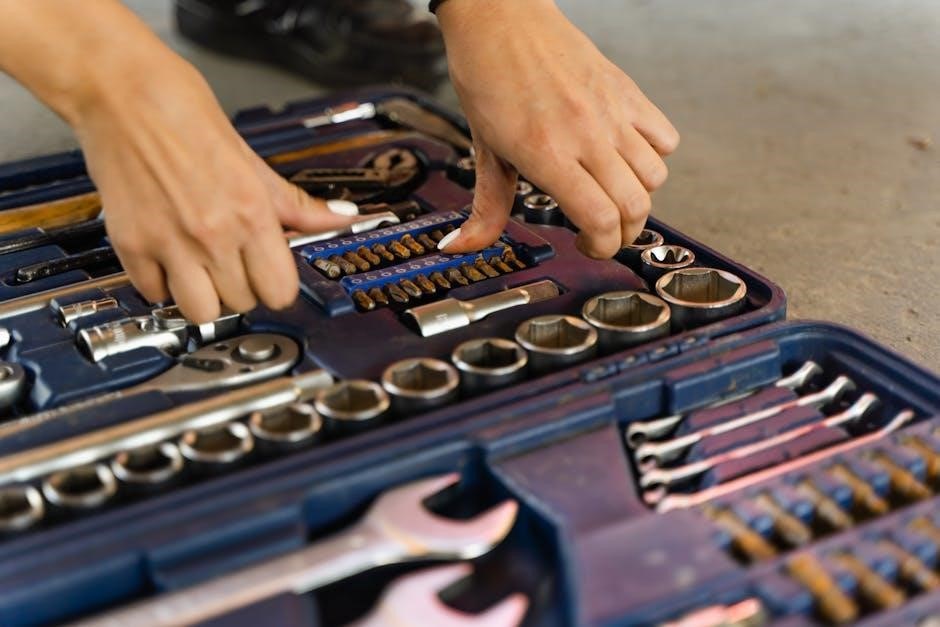
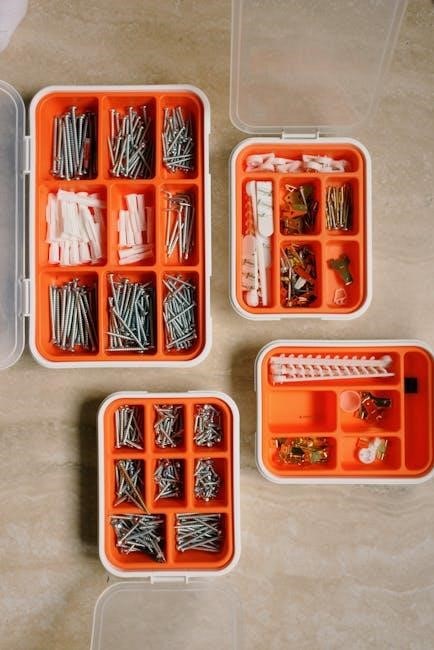
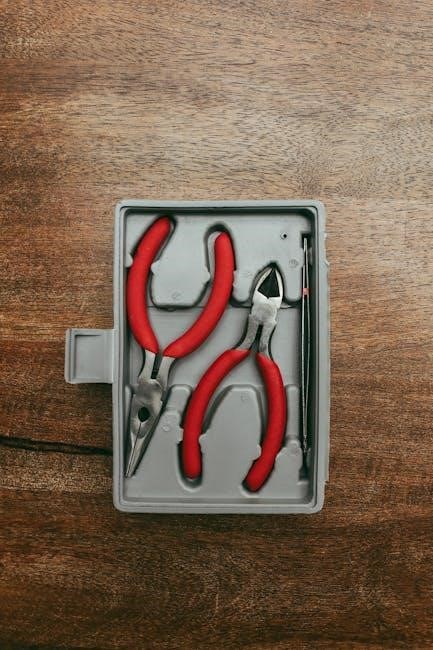
To begin the denture repair process, gather all necessary materials from the Repair It Denture Kit, including the repair resin, applicator, and instructions. Ensure you have additional tools like a toothbrush for cleaning and sandpaper to roughen the repair area. A container for hot water, not boiling, is needed to soften the denture if required. Prepare a clean, flat workspace and consider wearing gloves to prevent skin adhesion. Check the kit for any mixing tools and verify the setting time of the resin. Organize all items and review the instructions thoroughly for a smooth repair experience.
Cleaning the Denture Before Repair
Cleaning the denture is crucial for a successful repair. Use a soft toothbrush and mild soap to gently scrub all surfaces, removing plaque and debris. Avoid harsh chemicals or abrasive materials that could damage the denture. Rinse thoroughly with warm water to ensure no residue remains. For stubborn stains, soak the denture in hot tap water for 10 minutes before cleaning. Once clean, dry the denture with a soft cloth to prevent water spots. A clean surface ensures proper adhesion of the repair resin. Inspect the denture for any remaining debris before proceeding to the repair process.
Step-by-Step Repair Process
Follow the kit’s instructions for a seamless repair. Prepare the resin, apply it to the damaged area, and let it cure; Ensure proper alignment and smooth finishing.
Preparing the Repair Resin
Start by carefully mixing the resin components from the kit. Combine the powder and liquid evenly, following the instructions for the correct proportions. Ensure a smooth, lump-free consistency. Allow the mixture to set for a few minutes until it reaches the desired viscosity. Avoid creating air bubbles during mixing. Once ready, the resin should be pliable but firm enough to hold its shape. Proper preparation ensures a strong, durable repair. Always follow the kit’s guidelines for mixing times and ratios to achieve optimal results.
Applying the Repair Resin to the Damaged Area
Gently press the damaged pieces together, ensuring proper alignment. Use the applicator to spread a thin layer of resin onto the cracked or broken area. Avoid overfilling, as this can create unevenness. Smooth the resin with a clean tool or cloth, feathering the edges for a seamless blend. For cracks, apply the resin in a steady, back-and-forth motion. Allow the resin to set at room temperature or as per the instructions. Do not use the denture during this time; Once cured, lightly sand any excess material for a comfortable fit. Proper application ensures a strong, lasting repair.
Setting and Curing the Repair
After applying the resin, allow the repair to set at room temperature for the recommended time, typically 10-15 minutes. For stronger bonding, soak the denture in hot tap water (not boiling) for 5-10 minutes. Ensure the pieces remain aligned during curing. Once set, remove excess material with fine sandpaper for a smooth finish. Avoid using the denture until the repair is fully cured. Proper curing ensures durability, but remember this is a temporary fix. For a permanent solution, consult a dentist to prevent further damage or complications. This step is crucial for a secure and long-lasting repair.
Safety and Precautions
Use the Repair It Denture Kit with caution. Follow instructions carefully to avoid improper repairs. Misuse may lead to further damage or oral discomfort. For emergency use only.
Warnings and Contraindications
The Repair It Denture Kit is for emergency repairs only and not a substitute for professional dental care. Improper use may cause further damage or oral irritation. Avoid using if allergic to resin or monomers. Ensure proper alignment of broken pieces before applying resin to prevent a poor fit. Prolonged use of a repaired denture may lead to additional issues. For temporary fixes, consult a dentist promptly for permanent solutions. Follow all instructions carefully to minimize risks and ensure a safe repair.
Proper Handling of Repair Materials
Always handle repair materials with clean, dry hands or gloves to prevent contamination. Use the provided tools to mix and apply the resin accurately. Store components in a cool, dry place, away from direct sunlight. Avoid inhaling resin dust or fumes during preparation. Ensure the repair area is clean and dry before applying materials. Follow mixing instructions precisely to achieve the correct consistency. Dispose of leftover materials responsibly. Proper handling ensures a durable repair and minimizes potential health risks. Always refer to the kit’s instructions for specific guidance on material usage and safety precautions.
Alternative Repair Methods
Beyond DIY kits, professional dental services are recommended for long-term solutions. Dentists use advanced techniques and materials for durable, precise repairs tailored to individual needs.
Professional Dental Repair Options
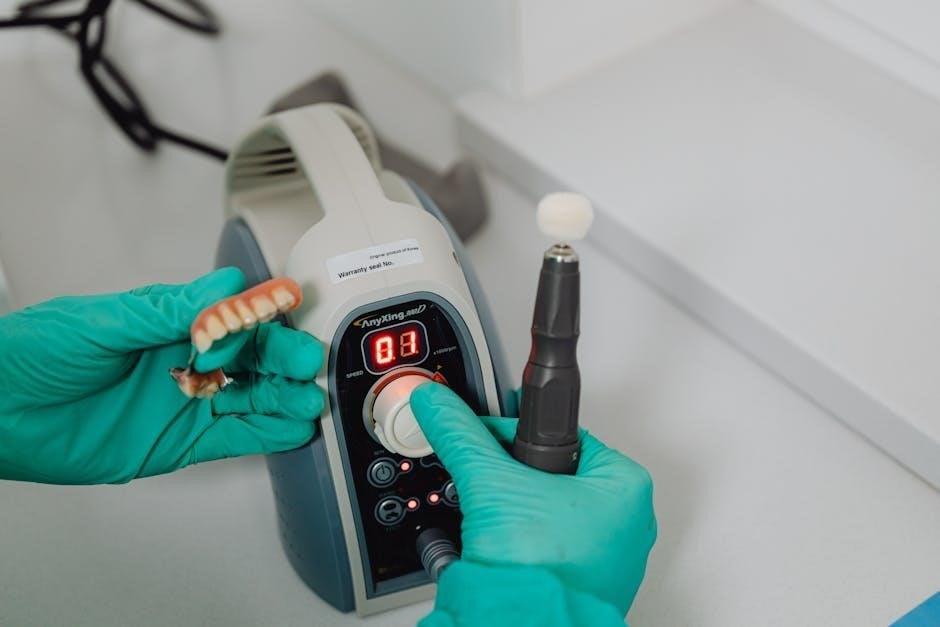
For a more durable and customized solution, professional dental repair is highly recommended. Dentists use advanced techniques, high-quality materials, and precise molds to ensure a perfect fit; They can repair or replace damaged areas, restore functionality, and improve aesthetics. Professional repairs are long-lasting and tailored to individual needs, unlike temporary DIY fixes. Dentists also address underlying issues, preventing further damage. If your denture requires extensive work, consulting a dental expert is the best option for a reliable and comfortable outcome. Their expertise ensures proper alignment, bite adjustment, and overall satisfaction, making professional repair the optimal choice for long-term results.
Using Other Denture Repair Kits
Besides the Repair It Denture Kit, other options like Dentemp and Ultra Suction offer similar solutions. Dentemp provides quick fixes for emergencies, while Ultra Suction includes stabilizers for better hold. These kits vary in components, with some offering additional tools like diaphragms or specialized resins. Each kit has its own instructions, so following the manufacturer’s guidelines is crucial. While they may differ in materials and methods, all aim to provide temporary fixes. For more permanent solutions, however, professional dental repair remains the best option. Exploring different kits can help find the one that best suits your specific needs and preferences.
The Repair It Denture Kit offers an effective solution for temporary fixes. For lasting results, schedule regular dental check-ups and store the kit properly for future use.
Final Tips for Long-Lasting Repair
To ensure a long-lasting repair, clean the denture thoroughly before applying the resin. Avoid using harsh chemicals, as they may weaken the material. Store the kit in a cool, dry place to maintain the integrity of the components. For best results, avoid using the repair kit for severe damage or multiple breaks. Regularly inspect your denture for wear and tear to prevent further issues. If the repair is unstable or discomfort persists, consult a professional dentist for a permanent solution.
When to Seek Professional Help
If your denture has severe cracks, multiple breaks, or missing teeth, it’s best to consult a dentist. Professional repair ensures proper alignment and durability. Persistent discomfort or instability after a DIY fix indicates the need for expert care. Avoid long-term use of temporary repairs, as they may lead to further damage or oral health issues. A dentist can provide a permanent solution, restoring both function and comfort. Don’t delay seeking help for extensive damage to prevent more costly repairs later.
